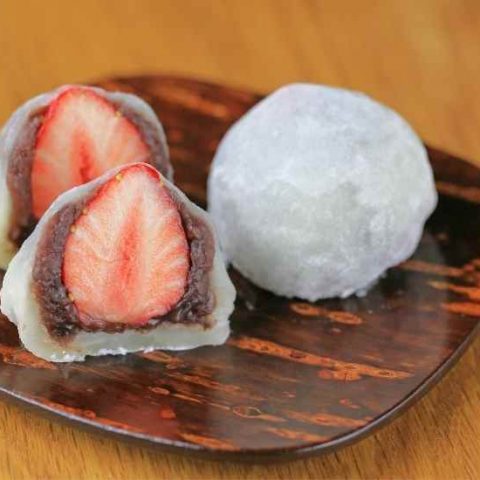
Japanese Daifuku Recipe
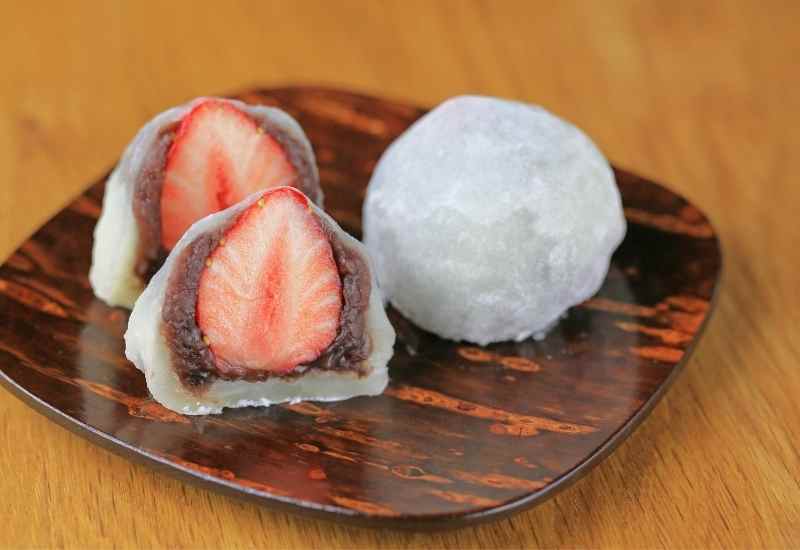
Daifuku is a type of wagashi (Japanese sweet), stuffed with sweet red bean paste which is a popular snack in Japan. Daifuku is a a “mochi” which is a type of small, sticky bun made from soft rice.
Origin of Daifuku
Daifuku or Daifuku Mochi is considered a Japanese snack, which is usually served with green tea. While most Daifuku recipes are filled with red bean paste, some also use white bean paste.
Originally, Daifuku was called Habutai Mochi which means “belly thick rice cake” because of its filling. Later, it was then changed to Daifuku Mochi which means “big belly rice cake” and “great luck rice cake.”
It was considered to be a bringer of good luck that is why people loved it so much. Daifuku gained significant popularity in the 18th century and people began eating them toasted which were also used as gifts during ceremonial occasions.
Japanese Daifuku Recipe
Ingredients
- Shiratamako (glutinous rice flour/sweet rice flour) - ¾ cup
- Water - ¾ cup
- Sugar - ¼ cup
- Potato Starch/Cornstarch - ½ cup
- Red Bean Paste (Anko) - 1 ½ cup
Instructions
How to Prepare the Daifuku
- In a medium-sized bowl, combine shiratamako and sugar and mix until incorporated.
- Add water into the mixture and continue mixing until the 3 ingredients are properly mixed.
Steaming Method
- Cover the steamer lid with a towel so the condensation won’t drop into the mochi mixture.
- Put the bowl into the steamer, close it, and cook for 15 minutes. Halfway into cooking, stir it using a rubber spatula then finish cooking (You should notice the change of color of the mochi from white to almost translucent).
Microwave Method
- Cover the bowl with plastic wrap but not too tight.
- Heat the bowl on high heat for about 1 minute. After heating, take it out and stir with a rubber spatula.
- Cover it again and cook for another 1 minute. Repeat the stirring and covering process then cook it again for 30 seconds. (You should notice the change of color of the mochi from white to almost translucent)
Continuation of Cooking Daifuku
- Prepare the work surface by covering it with parchment paper and dust it generously with potato starch. Then, transfer the cooked mochi on top.
- Sprinkle more potato starch on top of mochi to prevent it from sticking. Once it cooled down a bit, spread the mochi into a thin layer using a rolling pin. Don’t forget to sprinkle potato starch on the rolling pin as well to avoid sticking.
- In a large baking sheet, transfer the mochi with parchment paper. Let it sit in the refrigerator for no more than 15 minutes.
- Take out the mochi from the refrigerator and cut out 7-8 circles with a 3.5 inch cookie cutter.
- Using a pastry brush, dust off the excess potato starch. If there are other sticky parts left, cover it first with the starch then brush off the excess. Layer a plate with plastic wrap and mochi then repeat for all the remaining wrappers.
- It’s now time to make the Daifuku mochi. On the work surface, using a cookie scoop, place a mochi layer on top of a sheet plastic wrap.
- Pinch together the four corners of the sheet plastic wrap to completely cover the anko. Pinch all remaining openings and make sure none of it can peak through.
- Put some potato starch on the sealed area then set aside.
- Store the daifuku in an airtight container and place it in a cool dry place. They can be eaten cool or at room temperature.
Nutrition Information:
Yield: 12 Serving Size: 1Amount Per Serving: Calories: 140Total Fat: 0gSaturated Fat: 0gTrans Fat: 0gUnsaturated Fat: 0gCholesterol: 0mgSodium: 68mgCarbohydrates: 32gFiber: 2gSugar: 17gProtein: 2g